Route Profile: Lakeview, Cannon
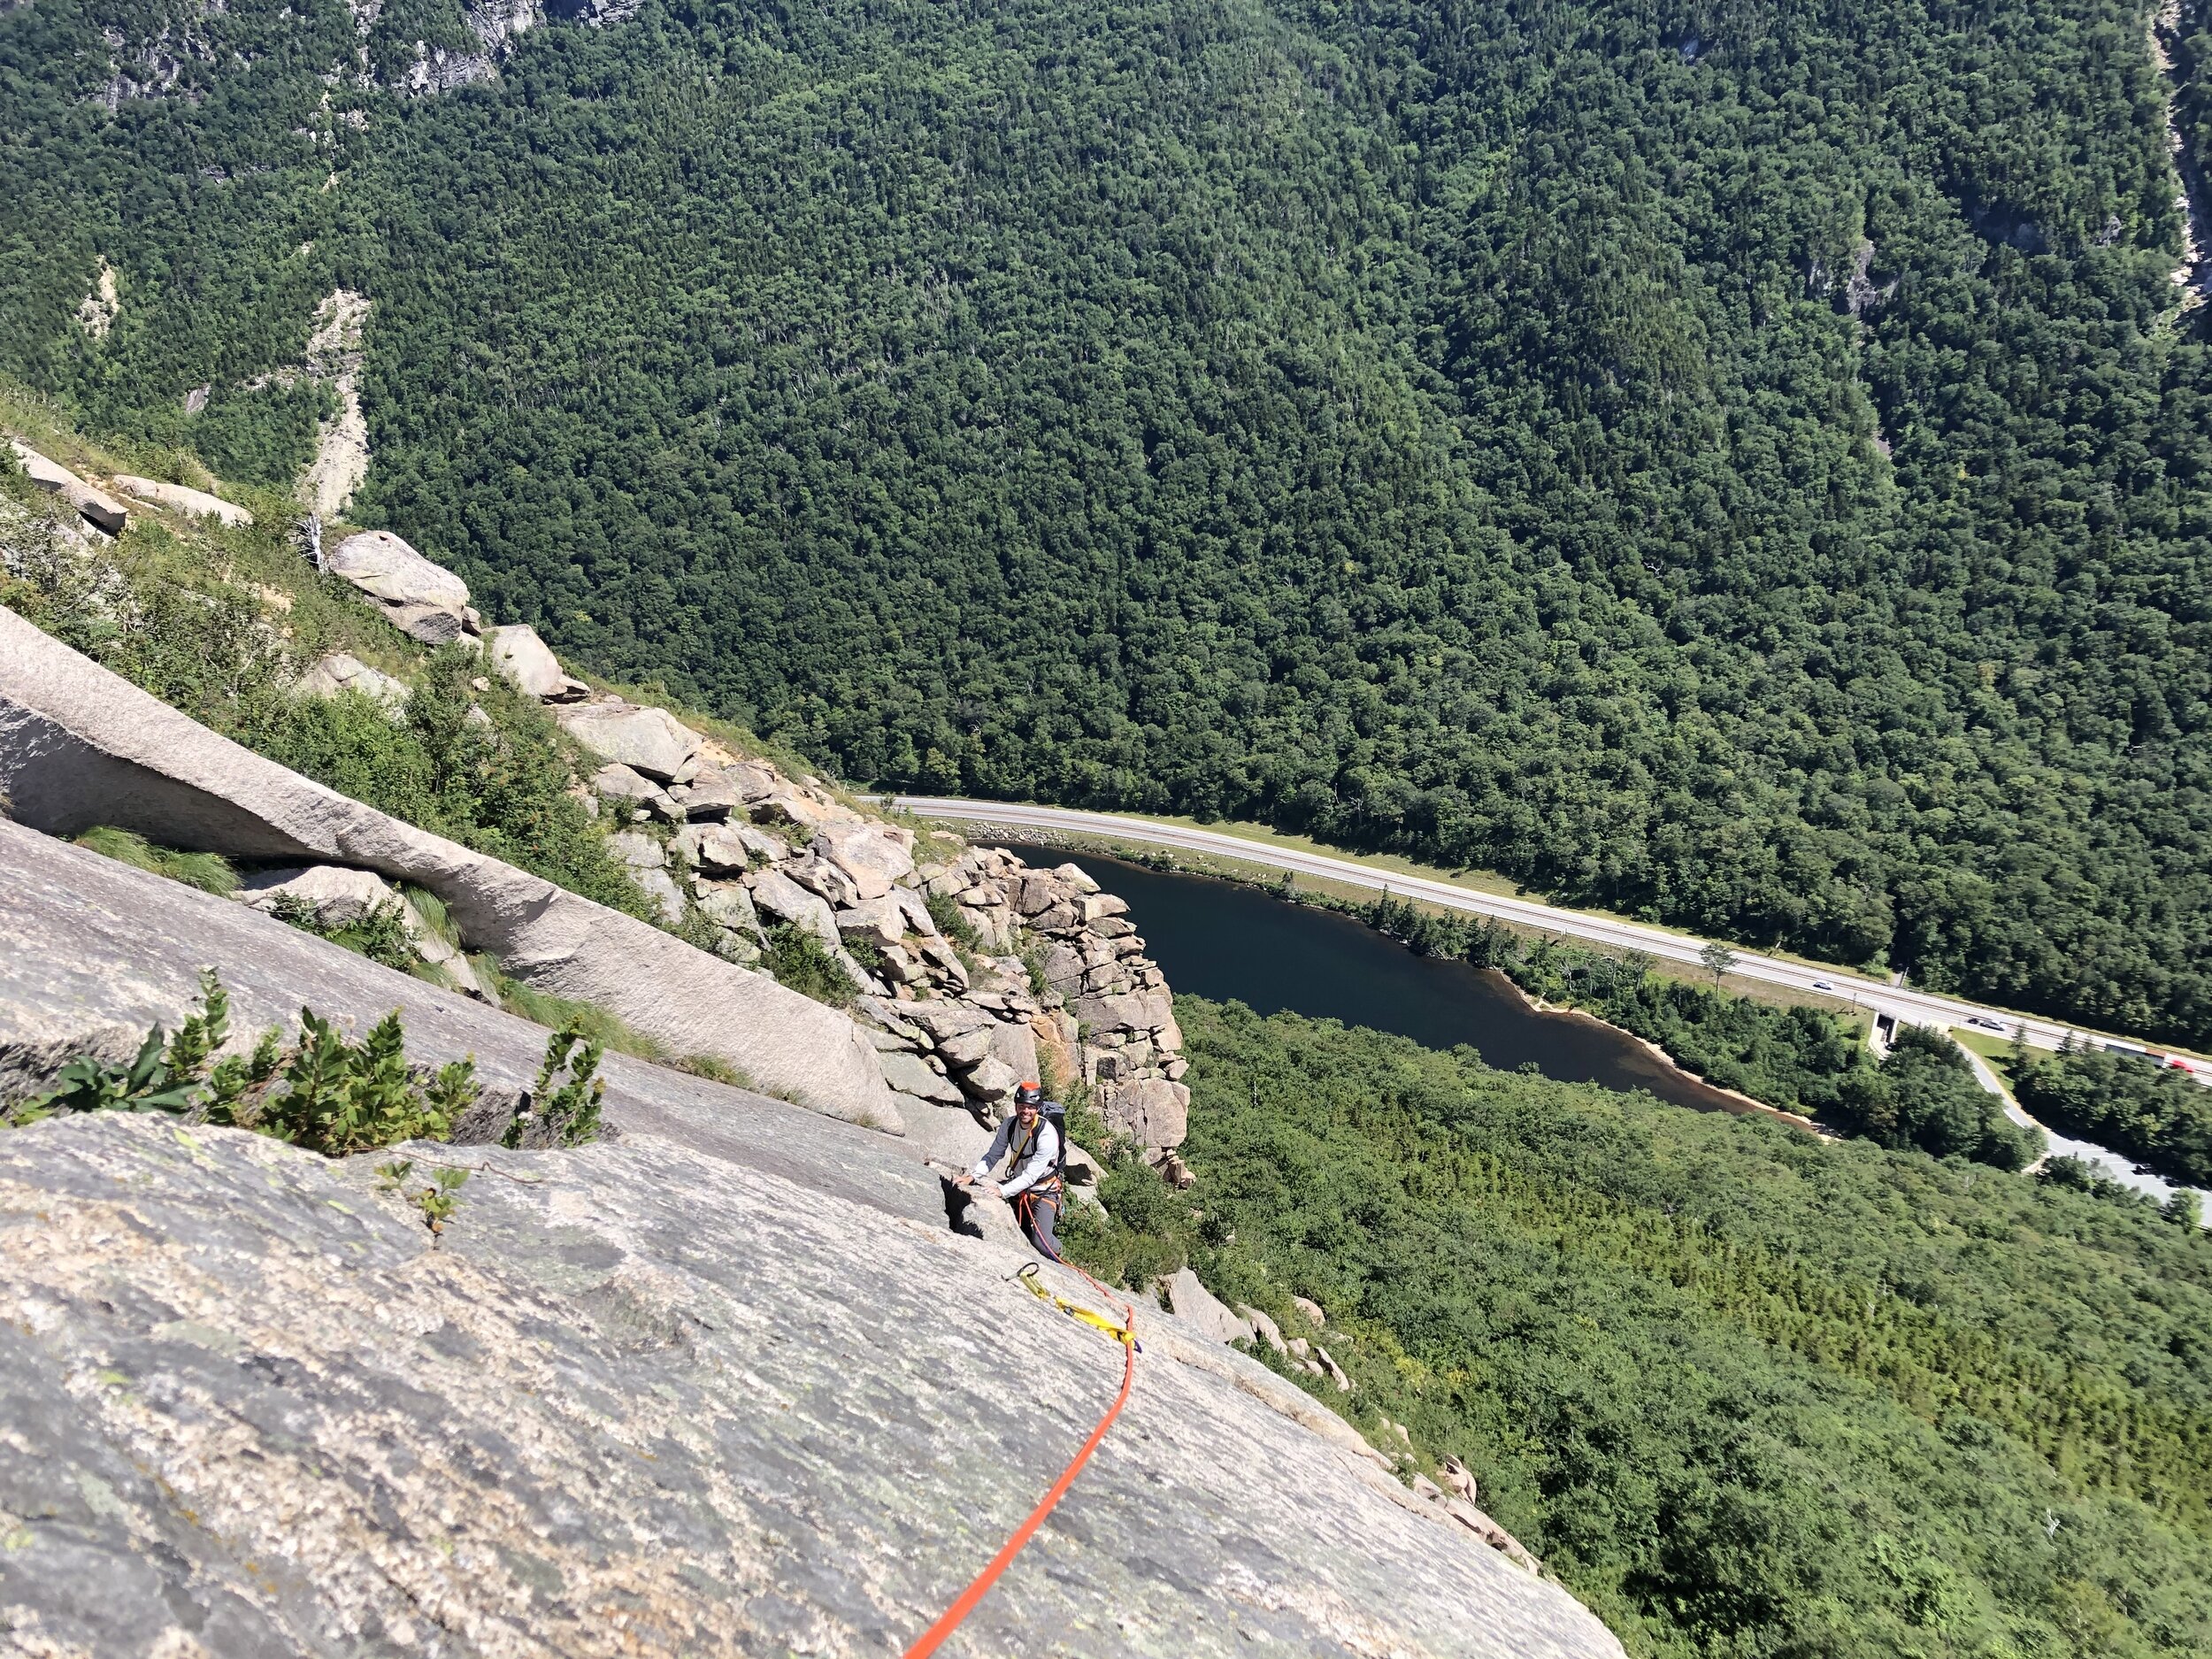
Scott and I recently climbed Lakeview (5.6, Grade III, 7 pitches) on Cannon as part of my 2019 Must-Climb Routes. It was awesome, although at times a little intimidating. It was also, in keeping with Cannon’s reputation, a bit loose.
In preparing for the climb, we researched a bunch of route beta, some of which was dated (the Sykes book) and some that was pretty useful (mountainproject). What really helped was that there was a party ahead of us on the climb, which allowed us to see approximately where the next pitch went as we climbed. Here’s my post-climb compilation of route beta so that we remember exactly what to expect next time.
History
In 1962, Dan Brodien, Roger Damon and Andy Fisher did the first ascent of Lakeview’s first five slab pitches to Lunch Ledge. On the ledge, they joined the last two pitches of Robert Underhill and Fritz Wiessner’s 1933 route up the cliff.
Cannon sees considerable rockfall and Lakeview has been no exception. Rockfall from the Old Man of the Mountain damaged the middle pitches in the route.
The Approach
From the parking lot, head south on the bike path to a footbridge. On the far side of the footbridge, hang a right onto the Pemi Trail (sign) and follow it until a climbers’ trail diverges uphill to the left near a small stream. Take this trail uphill. Follow it as it switchbacks to the talus field, then stay on the right side of the talus as it approaches Cannon proper. Once you hit the base of the wall, follow a climbers’ path north towards the far right end of the cliff. Lakeview starts at almost the far right end, just before the path heads downhill. This picture on mountainproject provides a good perspective of what you’re looking for.
Overall, the approach is 30-40 minutes, depending on fitness and pack weight. If you deviate too far right in the talus field—something we did at first—it gets a little jungly and might take a little longer.
The Slabs
The first pitch climbs a right-facing corner through broken terrain, ultimately ending on a ledge just below the first large overlap. There’s lots of spots for gear along the way, but beware of rope drag—depending on your exact route, there’s a few cracks and corners that can grab a rope. The climbing is low-fifth class (5.4ish). You’ll end up almost directly above your partner at the base of the climb, just 120 feet higher.
One of the better pitches on the route, the second pitch begins with an ascent to the ledge that’s right above you (approaching it from the right seemed the easiest). Then it makes a sharp left across, then slightly down (awkward), the overlap, joining a wide crack that runs up and left for the rest of the pitch. Friction up the slab alongside the crack, placing whatever big gear you have, until you reach a small stance below an overlap at the far end of the crack. Build an anchor (tricky) here using small cams in the pods below the overlap. The pitch felt about 5.5ish and was, for us, about 40-45 meters.
If you like runout friction slab, the third pitch is pretty good too. From the belay, surmount the overlap (heady), clip a piton, then angle up and left, continuing in that direction across the slab to an anchor a little ways below a large block. Along the way there’s another piton (use it) as well as some infrequent gear. The grade feels about 5.4ish, although the leader might find the cruxy step over the first overlap a bit harder. The pitch is about 40 meters.
The final, angling pitch (Pitch 4) is the least interesting of the slab pitches. And except for one section of downclimbing, it’s also the easiest. From the anchor, head left along a ledge for about 10-15 feet, to a short downclimb in a blocky corner, descend to a ledge, then follow the ledge on easy ground up and left until you reach the bottom of a broken gully that beelines to the upper pitches and Lunch Ledge. We built an anchor with really big gear (a BD 2 and 4) at the base of the gully in a flake. It’s a long pitch, but you’ll know you’re in the vicinity when the rope starts to run out and the terrain becomes really loose. Since pitch four traverses so much, make sure to place enough gear to protect your second.
The “Kitty Litter” Pitch
The loosest pitch of the climb, you’ll quickly see why it’s earned the nickname the Kitty Litter Pitch. From the belay, climb straight up, do a short boulder problem (gear), then ascend straight up to the narrowest part of the gully. From here to the top of the pitch the rock is very loose, with pebbles (and bigger) ready to go for a ride. While the climbing isn’t that hard (it’s also better protected than it appears from below), tread carefully so you don’t send anything down on parties below you! The top of the pitch is below the remnants of the Old Man of the Mountain on Lunch Ledge. We belayed here, then did a short, left traversing pitchlet across the ledge to the base of pitch six. The anchor at the base of the crack takes big gear; we used a BD 2, BD 3, and a large nut to make a bomber anchor.
The Business
Pitch six is the money pitch. It has great protection, fun, consistent vertical movement, and a classic, airy position. From the belay, climb about 20 feet up a broken, grassy corner, then step left into the crack proper. Layback and jam up the crack, then look for another thinner crack, just to your right and follow it to a comfortable ledge with a bomber horizontal. You’ll know you’re there as the terrain above the ledge goes from vertical to low angle friction slab.
While the pitch felt like consistent 5.6ish, we thought the crux was the top third in the final crack. We found lots of options for gear, particularly in the mid-size range and bigger. Just be sure to save some mid-sized cams for your anchor at the top of the pitch.
The crux is on the final pitch of the climb. From the belay ledge, step up onto the slab through a thin notch and start frictioning up easy terrain. About 10 feet up and a little to the right, place a gray BD X4. From there, friction up to the base of the flake, where you can place a micro-cam or two in a piton scar on the wall near the flake’s bottom left. Make sure to place this piece well as it’s your only protection for the crux unless you brought a huge cam (BD 6?) or a Big Bro.
The flake is rated 5.6, but is pretty sandbagged and unprotected. It’s essentially a campus problem, where you reach up high, bump your hands higher, then finally get a foot up onto the ledge on the left of the crack. From there, work up into the notch, clip a piton and place a little gear, then stem up the longer-than-you-think v-chimney to the top of the cliff, placing gear as you go. The chimney has two pitons and good gear, and the difficulties continue until top.
At the top, it is difficult to communicate with your second and, since you’ll have been out of sight for awhile, hopefully you’ve worked out a plan in advance. Build an anchor at the top—there’s lots of old engineering equipment to choose from—then bring your second up.
The Descent
Don’t bollox the descent for the top like we almost did. Stay right at the level of the climb, follow a cement water channel backward, and find the obvious climbers path. Follow it north to descend. Use care on the initial sections as there’s a big drop to the right. The path takes you around the far end of the cliff, then around the back of the lake. It’s about 50-60 minutes back to the parking lot from here.
If you have to descend mid-route, expect to leave gear for rap anchors.
Gear
We brought two sets of nuts, a double rack of cams to BD 2, and a BD 3 and 4. That was generally sufficient, although we could have placed doubles of the 3 and 4 on the second, fourth, and sixth pitches. If you have a large Big Bro or a big cam, you’ll find places for it on the second pitch and at the otherwise unprotected crux on the seventh pitch.


